Nitecore P20i UV | Expert Review by Koen van der Jagt
First impressions
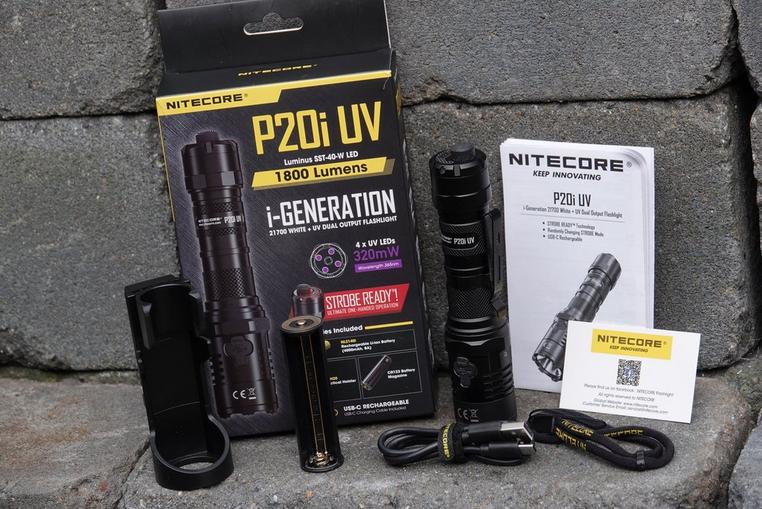
When you open the box (which is filled with advertising) you immediately see that the light is intended for tactical use because a special holster (the NTH20) is included. Other than that it looks like we have grown accustomed to from Nitecore: battery, charging cable, carrier strap and clip. Well done, as far as I am concerned!
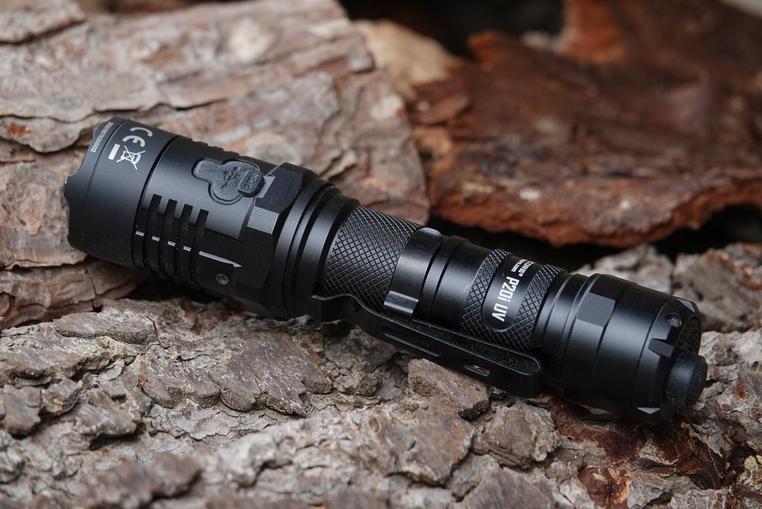
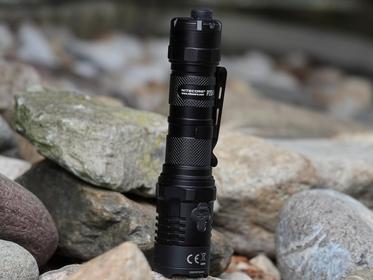
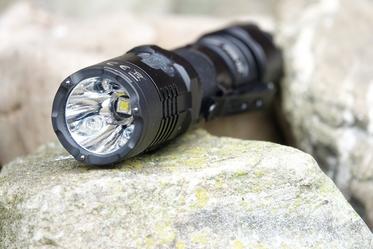
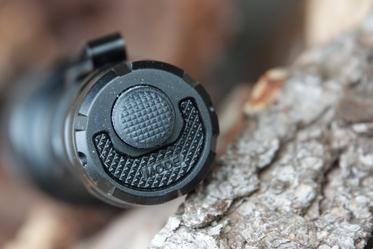
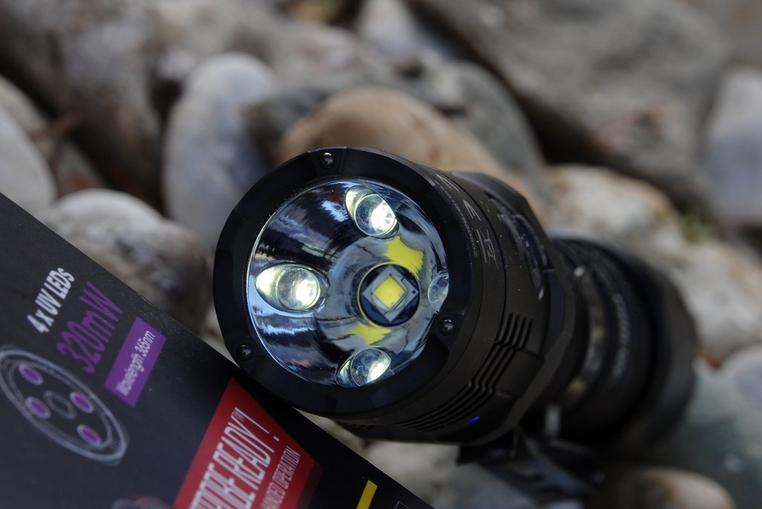
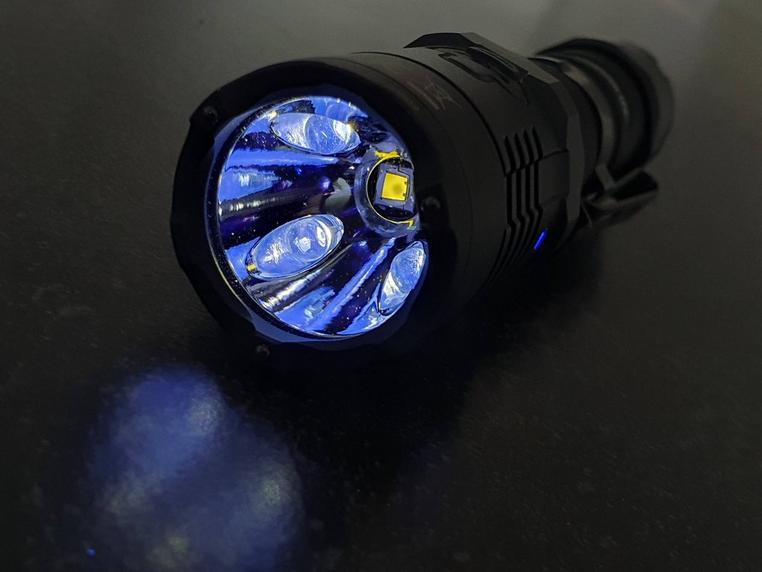
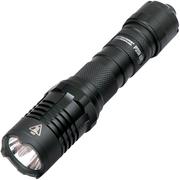
The P20i UV is a little bigger than the average mid-range light and that is mostly due to the deep light head. It also draws most attention with the deep-set SST-40-W LED light and positioned around it four UV LED lights. The crown has small tips on the bezel with which you can defend yourself or break a window if need be. The included clip can be secured in various ways; the carrier strap can only be attached to the clip, cut-outs to pull the loop through are missing. The back of the light is enhanced with the large rubber clicky with, next to it, a flat, half-moon shaped second switch next to it. A striking detail is the blue-coloured light for the battery status in the head of the light. The design has different textures (including ridges that properly dissipate the heat) which ensures that the light feels great in hand and also won't roll away when you place it on a slanted base. On the inside of the body a spring ensures that the battery properly absorbs potential blows.
Overall, the P20i UV is nicely constructed. For the light I put to test I noticed that the central LED light was not completely centred. The screw wires were also not greased; you can easily do this yourself, however, something I do recommend doing to extend the life of the light.
When and how
The P20i collection is mostly used for tactical use which means you need to be able to rely on your material and immediately need to have the right mode at hand to act during any unexpected situation. The UV version which was put to the test here has, in addition to the before mentioned, two extra functions: checking for authenticity (passport, money, precious stones) and being able to trace invisible tracks (forensic research). The police, for instance, can be confronted with all these matters and will therefore benefit from a light that can handle all these situations.
How is the P20i UV in terms of controls and comfort?
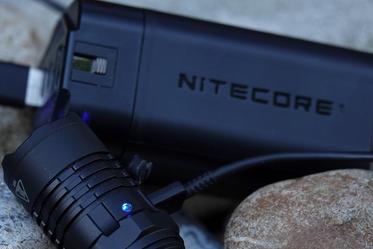
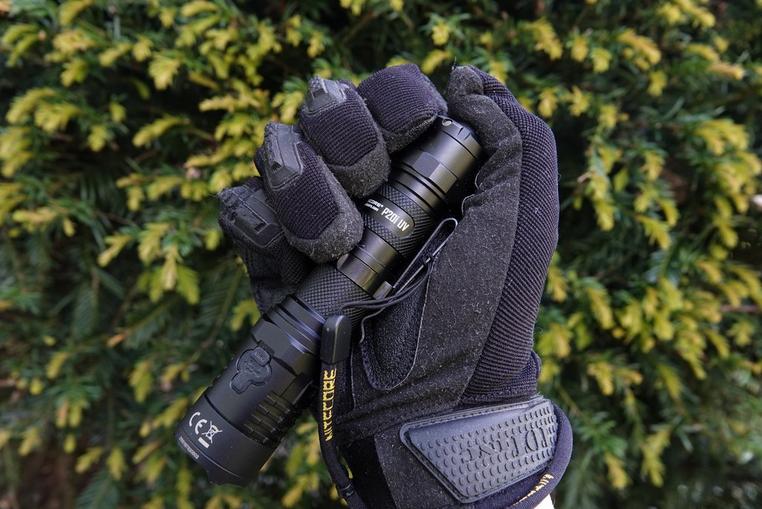
The P20i UV is clearly larger than, for instance, the MH10S and also feels heavier. And yet it feels great in hand, especially when you wear gloves. Charging the light is easy via the USB-C port. Keep in mind that charging an empty 21700 battery can take up to four hours. As soon as the status light no longer flashes but continuously burns the battery is fully charged. During use the light also burns to give you the current battery status. As soon as it starts to flash continuously (fast) you need to charge it.
The P20i UV has two user modes: Daily and Tactical. Switching between modes is not difficult but I recommend having the light face down because you might otherwise blind yourself. You need to hold the Mode button (the P20i UV will immediately switch to the stroboscope) and at the same time loosen the battery cap a little. With one (Daily) or two (Tactical) short flashes the light will tell you which mode you chose. The most important difference between these two modes is that the light turns on in the Daily mode and uses the mode last used and when set to tactical, will always start with the highest mode. The other difference is that in the Daily mode you switch from low to high and in tactical from high to low. You notice that the light is clearly meant for tactical use: a really low light mode is missing and you have 'only' three regular light modes. The UV mode is in the cycle of both user modes. As such the light will turn on as such (in Daily): Low > Middle > High > UV. Because UV light can be dangerous for your eyes I would have loved to see this option behind some kind of protection. Especially at daylight you don't immediately see the difference between the lowest light mode and UV and are quickly tempted to 'curiously' look into the lens. As such the P20i UV clearly belongs in the hands of those who know how to handle UV light. The stroboscope function is always immediately available via the Mode button, it does not matter which user mode you use. When you activate strobe as the light is turned on you secure it, and it is also immediately secured in the memory. As such you can set up the P20i UV so that no matter which switch you press, the light always turns on in the defence mode. The large head of the light mostly proves itself when used in the highest mode: compared to the smaller lights the P20i UV won't become too hot; even after minutes of use you can still hold the light without burning your hands.
This leaves us with the following: what does the UV option add to this light? In daily life you can use it to check the authenticity of valuable documents or cash. Later on in this review I will show you some examples! On a professional level it is used for forensic investigations and when studying gems. It is therefore clear you only purposefully use the UV option.
In conclusion: for tactical users the P20i UV has an excellent interface; you need to use the UV option with care.
This is what I love about the P20i UV
The light feels great in hand and using it via the clicky plus switch is easy. During unexpected situations the P20i UV stands its ground!
This can be better or different
The UV option should be protected more. It can damage your eyes and you never need it within a second like, for instance, the stroboscope.
Value for money?
The UV version of the P20i collection sits right in the middle in terms of price. Especially when you check money or valuable items for authenticity, you quickly 'earn' back this expense. This fact and the overall construction quality and finish of the P20i UV make me feel like this light is not overpriced.
My conclusion
Robust light with easy controls and enough light intensity. Can also easily be used as a defensive weapon. It is, however, a light that belongs in the hands of someone who knows how to use it. Light image and light intensity meet the requirements of how the P20i UV should be used.
Also:
As we have grown accustomed to from Nitecore you can choose from a wide range of accessories with which you can attach or control the P20i UV.
Last, but not least: the beamshots:
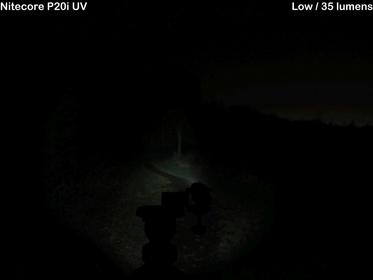
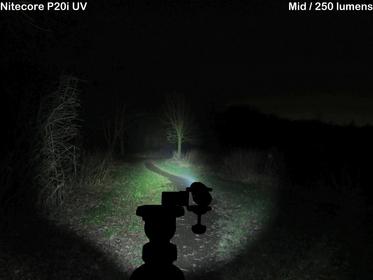
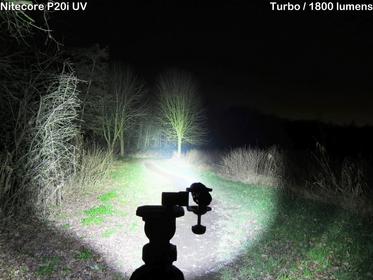
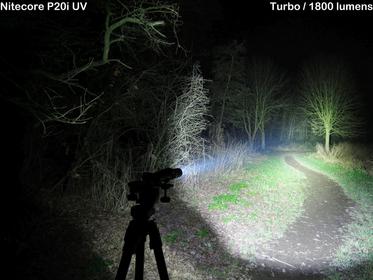
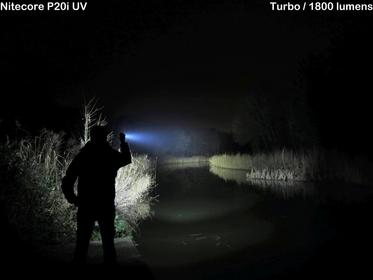
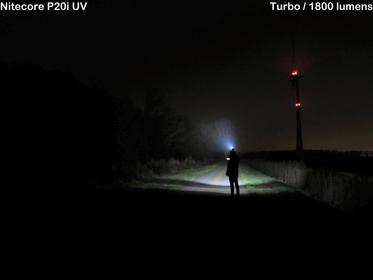
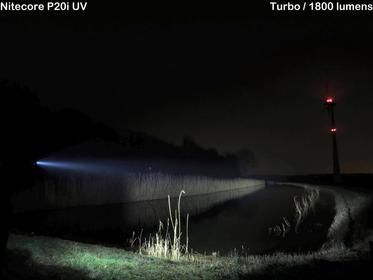
The light image of the P20i UV provides you with a good mix of range and overview for which the emphasis is placed on beam distance (thanks to the deep reflector). You can tell when you look at the beamshots: the P20i UV has a clear and broad hotspot, a clear corona (less powerful light around the hotspot) and a weak spill (residual light at the edge of the beam). You see clear rings around the beam, it is the result of the used combination of LED light and reflector. I am not a fan, but it does not affect the beam. The colour is nice and white, and doesn't contain a blue hue.
The first location is a small forest. Here there is usually little light, the perfect place for a flashlight. Below the three light modes.
Some photo's while holding the light at different locations. Things that stand out are the range thanks to the broad hotspot and the rings around the light image.
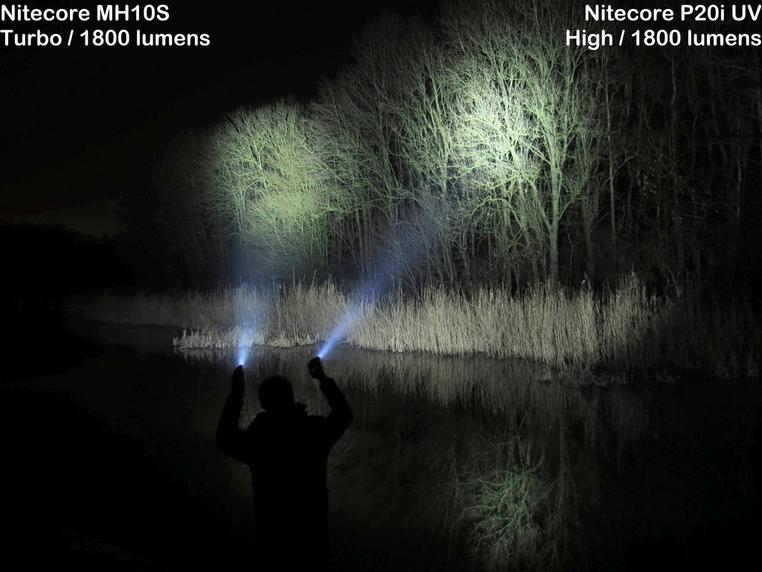
To show you what a reflector does with an identical light source I took a photo while holding both the MH10S and the P20i UV. You can clearly see that the MH10S has a more even beam while the P20i UV is brighter in the middle which leaves you with a larger range.
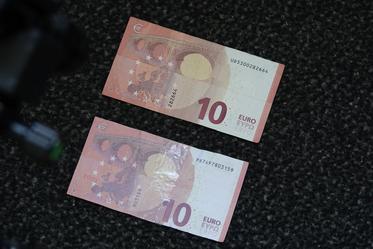
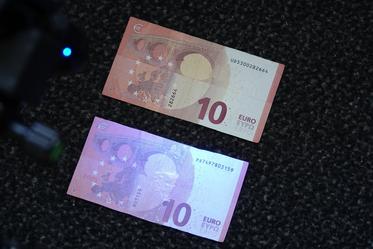
As promised some examples of the UV light. A frequently used application is checking the authenticity of cash. Below you can see what a UV light shows you if you put real next to fake money.
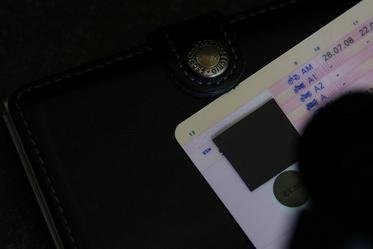
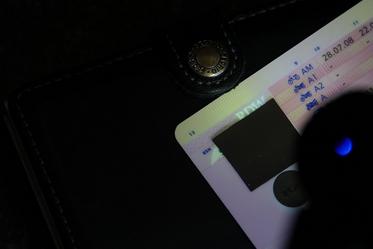
A driver's license has hidden authenticity features which you can only check with UV light. The things you miss with the naked eye become visible with the P20i UV!
Koen van der Jagt
Ever since he could walk Koen has been interested in lights, wires and batteries. As a child he was always working with dyno torches, bike lights and electrical boxes. The krypton and halogen lights were replaced by LED lights. A couple of years ago he discovered the ‘professional’ stuff. His first brands were Led Lenser and Fenix. Photography is also one of his hobbies. In addition to nature and meteorology Koen loves to show others what a light can do and what its beam looks like at night. Koen’s reviews can often be found on forums such as candlepowerforums.com and taschenlampen-forum.de. Throughout the years Koen has collected lights in practically any category: from small and compact to enormous powerhouses.

